
It has become easier to jot down notes on your iPad with the help of notability. But there are certain things that can become a point of hindrance. For example, you may question- How to Move Notes in Notability? or How to add bullet points on notability? Our prime goal is to answer each and every question that you have on your mind. In the upcoming article, we will answer the first question as the second question has already been discussed.
Here is the link to that article- How to add Bullet Points in Notability iPad? 5 Easy Steps!
Importance of Organizing and Moving Notes
Moving notes in the Notabiltity is a part of the organization of the notes in the app itself. This will help in easier access to the notes and will help you save a lot of time.
There are different aspects of moving notes in your iPad on notability. In the upcoming article, we will go through each and every method so that you do not go empty hands.
Overall, there are 3 to 4 ways by which you can move notes in your notability iPad. So, let’s answer your question-How to Move Notes in Notability!
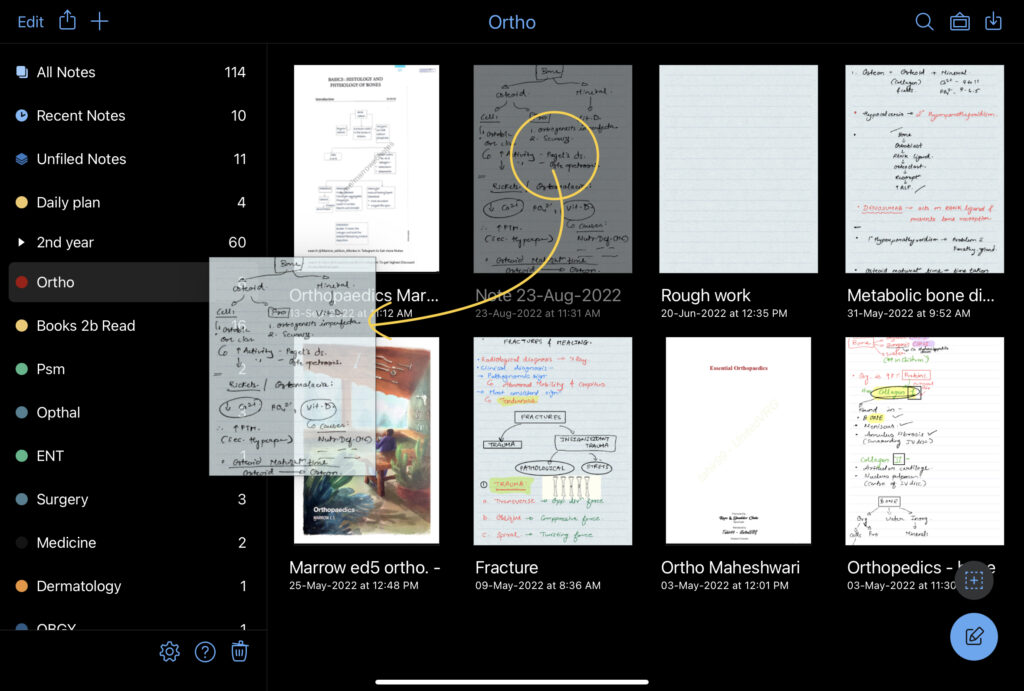
How to Move Notes in Notability?
First of all, we will see the process to move notes within a notebook itself.
Moving Notes Within a Notebook:

1. Selecting and Opening the Desired Notebook:
- Open the Notability app and locate the notebook that contains the note you want to move.
- Tap on the notebook to open it.
- Within the selected notebook, scroll through the list of notes to find the specific note you wish to move.
- Tap and hold onto the note.
3. Using Drag-and-Drop:
- Once you have the note open, press and hold your finger on the note’s title or thumbnail.
- Drag it to the desired position within the list of notes in that notebook.
- Release your finger to drop the note into the new position. Notability will automatically save the changes.
-Alternative Methods for Moving Notes:
In addition to drag-and-drop, you can use other methods to move notes within a notebook. For example, you can select the note and use the cut-and-paste commands, or you can access the context menu for the note (usually by long-pressing on it) and choose the “Move” or “Reposition” options.
Transferring Notes Between Notebooks
Now as we are through with the method of moving notes in between the same notebook. Now let us move forward with exchanging in between 2 different notebooks. If you want to move a note from one notebook to another in Notability, follow these steps:
1. Selecting the Source Notebook:
- Open the Notability app and go to the notebook that currently contains the note you want to move.
- Tap on the notebook to open it.
2. Locating the Note to Be Moved:
- Scroll through the list of notes within the selected notebook to find the specific note you wish to move.
- Tap and hold on the note.
3. Choosing the Destination Notebook:
- Drag the Note to another notebook and drop it.
4. Moving the Note to the New Notebook:
A list of available notebooks will appear. Select the notebook where you want to move the note. The note will be transferred to the chosen notebook, and the changes will be saved automatically.
Ensuring Proper Organization and Maintaining Context:
After moving a note to a new notebook, review its content to ensure it is properly organized and retains its original context within the new notebook structure.
With this, we have answered your question- How to Move Notes in Notability? Henceforth we will see the remaining miscellaneous topics related to the focus query.
Syncing and Backing Up Notes
Syncing and backing up notes in Notability is crucial for ensuring data integrity and accessibility across devices. Notability provides options for syncing and backing up your notes, as outlined below:

Importance of Syncing and Backing Up Notes:
Syncing notes allows you to access and work on them from multiple devices. It ensures that changes made on one device are reflected on others. Backing up notes helps protect against data loss in case of device failure, accidental deletion, or other unforeseen circumstances.
Syncing Notes Across Devices:
Notability supports syncing notes across devices using services like iCloud or other supported cloud storage options. Enable syncing in the app’s settings and sign in to your iCloud account.
When you make changes to notes on one device, they will be synced and updated on other devices connected to the same iCloud account.
Restoring Notes from a Backup:
If you need to restore notes from a backup, ensure that you have a recent backup available. If you use iCloud, you can restore notes by signing in to the same iCloud account on a new or reset device. After signing in, open Notability and enable syncing.
Your notes will be restored from the iCloud backup. Alternatively, if you have a local backup of your notes, you can restore them by importing the backup files into Notability as described in subheading 5.
Remember to regularly sync your notes and maintain backups to ensure the safety and accessibility of your important data in Notability.
Benefits of Organizing Notes
Organizing notes in Notability offers several benefits, including:
- Easy Access: Well-organized notes allow for quick and effortless retrieval of information, saving time and effort when reviewing or studying.
- Improved Productivity: With organized notes, you can locate specific information faster, enhancing productivity and efficiency in tasks that require referencing or studying multiple subjects.
- Enhanced Focus: Organized notes help maintain focus by reducing distractions and providing a clear structure for information, allowing you to concentrate on the task at hand.
- Better Understanding: By organizing notes into logical sections or topics, you can create a coherent structure that aids in comprehending and connecting ideas, improving overall understanding.
- Seamless Collaboration: Organized notes facilitate collaboration by making it easier to share specific sections or notebooks with others, enabling efficient teamwork and knowledge sharing.
- Visual Appeal: A well-organized note-taking system enhances the visual appeal of your notes, making them visually appealing and engaging, which can further enhance the learning experience.
- Flexibility and Adaptability: Organized notes can be easily rearranged, reorganized, or merged to accommodate changes in priorities, making it easier to adapt and refine your note-taking system over time.
- Efficient Review and Study: When notes are organized, reviewing and studying become more efficient. You can revisit key concepts, focus on important details, and establish connections between different topics more effectively.
By taking the time to organize your notes in Notability, you can unlock these benefits and maximize the value and utility of your note-taking process.
This was a detailed article on How to Move Notes in Notability? 4 BEST Methods! I hope the article was informative and helped you in one way or the other. If so, kindly read our other articles too.
9 Best Gaming Laptops Under 1 Lakh!